11 Dorm Study Desk Setup Ideas That Work in One Square Metre
Eleven ways to make a dorm desk usable for long study sessions — lighting you're allowed to install, storage that goes upward, sharing a room with someone on a different schedule, and free upgrades to the screen.
A dorm desk is usually about 100 × 50 cm, bolted to the wall or the bed frame, under a ceiling light you don't control, in a room you share. Most study-setup advice assumes none of those constraints. These eleven are ordered by cost, starting at zero.
Short version: in a dorm, the three things worth fixing are light, vertical space, and having somewhere for the day to end. A clamp lamp costs about $15 and fixes the worst of the lighting. Everything above the desk surface is free storage most people leave empty. And because you sleep two metres from where you study, a visible change between study mode and off mode matters more here than in any other setup.
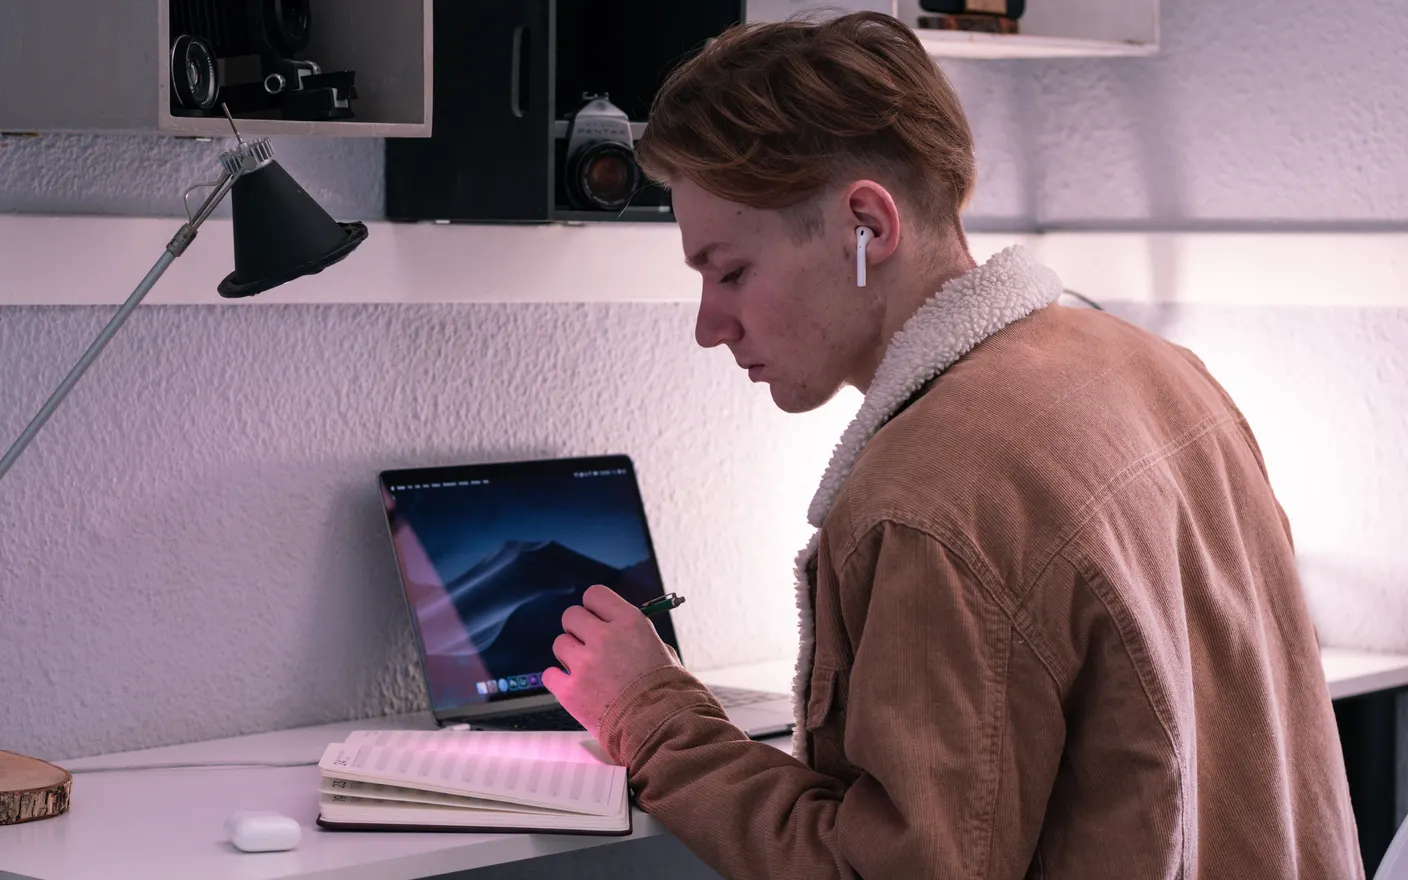
1. Clamp a lamp to the desk edge — dorm ceiling light is the wrong colour and the wrong angle
Ceiling fluorescents come from directly overhead and are often 5000K or higher, which is fine at 10am and terrible at 11pm. A $12–20 clamp lamp on the desk edge, positioned on the opposite side to your writing hand, gives you a light you control. If it's dimmable or takes a smart bulb, you also get a warm setting for late sessions.
2. Use the space above the desk — a freestanding riser doubles your surface
Most dorm desks have 60–80 cm of empty wall above them. A small freestanding riser shelf, a monitor stand with storage underneath, or a hanging organiser adds a whole second surface without touching the wall or the floor. Freestanding risers start around $10–20 and come with you when you move out.
3. Raise the laptop and add a $25 keyboard — the desk is too low for a screen on it
Dorm desks are usually 72–75 cm, which is a writing height, not a screen height. A laptop flat on it puts the display well below eye level for a whole term of long sessions. Raising the laptop on the riser shelf and using a separate keyboard costs about $25–40 total and is the main thing that makes a four-hour session survivable.
4. Agree quiet hours with your roommate in writing — the schedule is the real constraint
The hardest part of a dorm desk is that someone else's day runs on a different clock. Agreeing two blocks — say 9–11pm quiet, and mornings before 9 free — in an actual message rather than by implication removes the nightly negotiation. Written beats verbal because neither of you has to remember what was agreed.
5. Put the study session somewhere the bed isn't in view — turn the desk if you can
Studying while looking at your own bed is a known losing setup, and in a dorm the bed is usually 1–2 m away. If the desk can be turned so the bed is behind you, do it. If it's bolted down, a small divider or even a hung sheet between the two zones does the visual half of the job for a few dollars.
6. Use removable adhesive hooks for everything vertical — dorms charge for holes
Headphones, bags, cables, a small whiteboard: all of it can hang from removable adhesive hooks rated for a few hundred grams, which release cleanly if pulled straight down. A pack is under $10. Keep well under the rated weight, and don't use them on painted breeze block or anything already flaking.
7. Get one pair of over-ear headphones, not earbuds — you'll wear them for hours
Dorm study happens in sound you don't control, and earbuds become uncomfortable well before a three-hour session ends. Over-ear closed-back headphones isolate more passively and stay wearable. Usable pairs start around $50–70; this is the one item where the cheap option tends to get replaced within a term.
8. Keep one drawer for the day's active work only — dorm desks fill up in about a week
A 100 cm desk shared with a kettle, a laptop, and three courses' worth of paper stops being usable fast. Reserving one drawer or one box for only what's active this week, and putting everything else out of reach, keeps the surface functional. The rule matters more than the container.
9. Charge everything from one 3-port charger — dorm sockets are scarce and badly placed
Dorm rooms typically have two or three sockets, none near the desk. A single multi-port USB-C charger plus a 2 m cable replaces four bricks and one extension lead, and costs $25–40. It also means the desk has one cable on it instead of four, which is most of what makes a small desk look chaotic.
10. Use a wallpaper that marks study mode — the cheapest version of having a second room
When you study and sleep in the same three metres, nothing signals the change between them. A specific desktop scene for study sessions, and a different one afterwards, is the cheapest kind of boundary you can add to a shared room — it takes up no space and is visible from across it. Tayu runs live scenes with matching ambient sound and switches them on a schedule, so the change happens at the hour you set instead of whenever you notice. There are free options too if the budget is zero.

Tayu — a healthy rhythm for desk work
11. Have one alternate desk on campus — the library slot is part of the setup
No dorm desk survives every kind of work. Knowing one specific alternative — a library floor, a quiet building, a particular seat — and using it deliberately for the hardest task of the week is a real part of the setup, not an admission the room failed. The specificity matters: "the library" is a plan people don't execute, "the third floor after 6pm" is one they do.
How to choose
- You have $0 → turn the desk away from the bed, use the space above it, and set a free study wallpaper.
- You have $30 → clamp lamp and a riser shelf. Light and height, in that order.
- You have $100 → add a keyboard and over-ear headphones.
- The problem is your roommate's schedule → no purchase fixes this. Agree quiet hours in writing and pick an alternate desk.
A calmer live wallpaper for Mac
Tayu pairs 4K nature scenes with ambient sound, YouTube wallpapers, playlists, schedules, and AI scene switching for focused work and small breaks.